Access Corrective Actions Assigned to You
Open Your Corrective Action
Manage Corrective Actions
Additional Actions
Attach a File
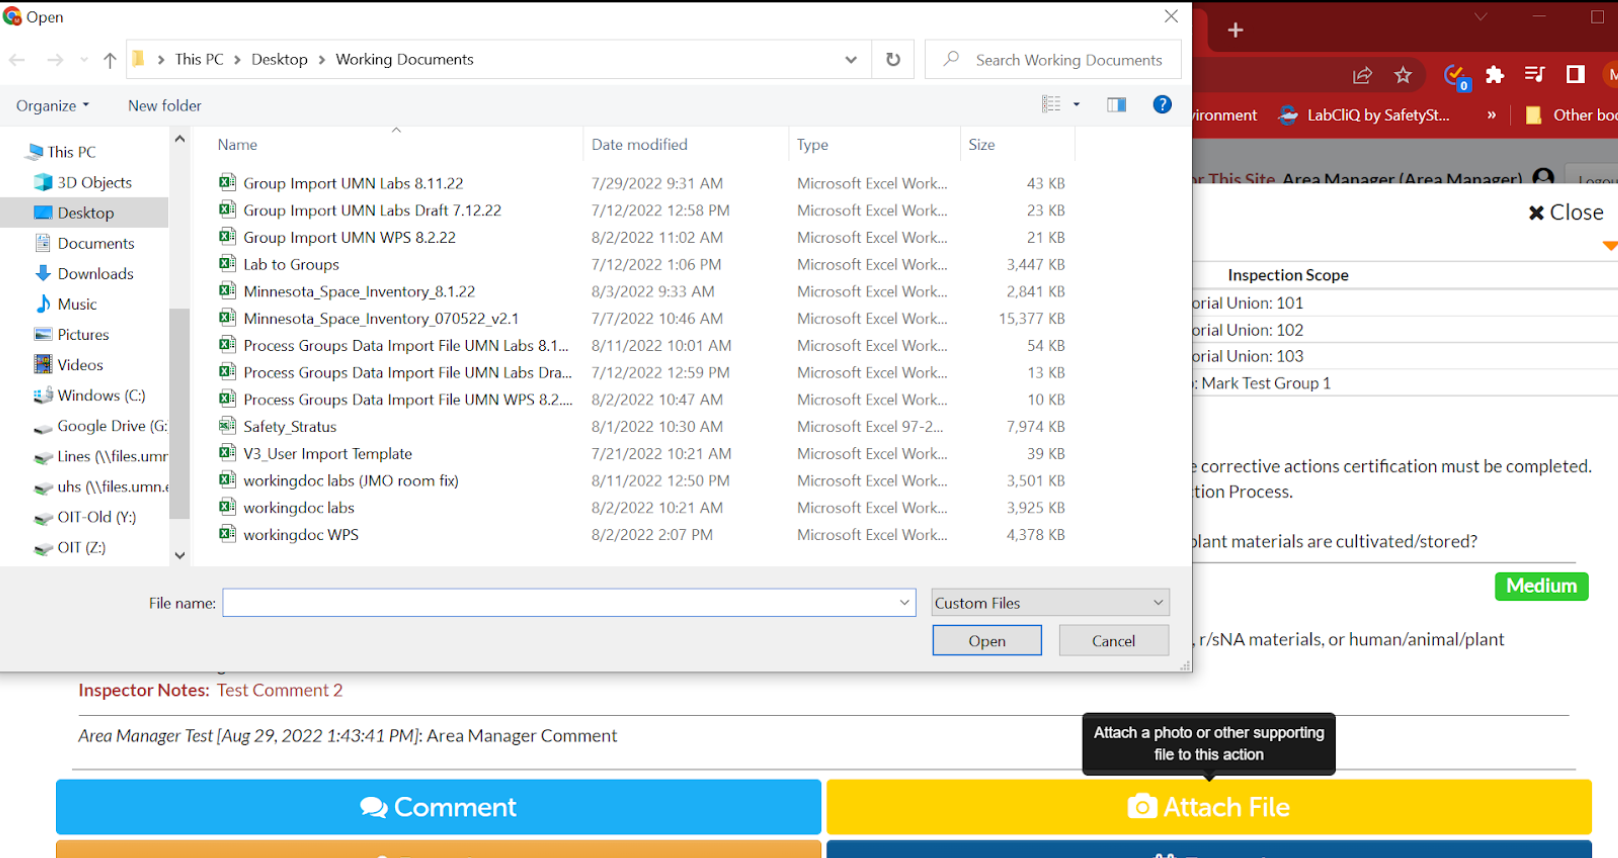
- Click on the “Attach File” button on the “Manage” screen. This will prompt you to navigate to a file.
- Select the appropriate file (image, pdf, etc.) to attach to the corrective action, and click “Open”.
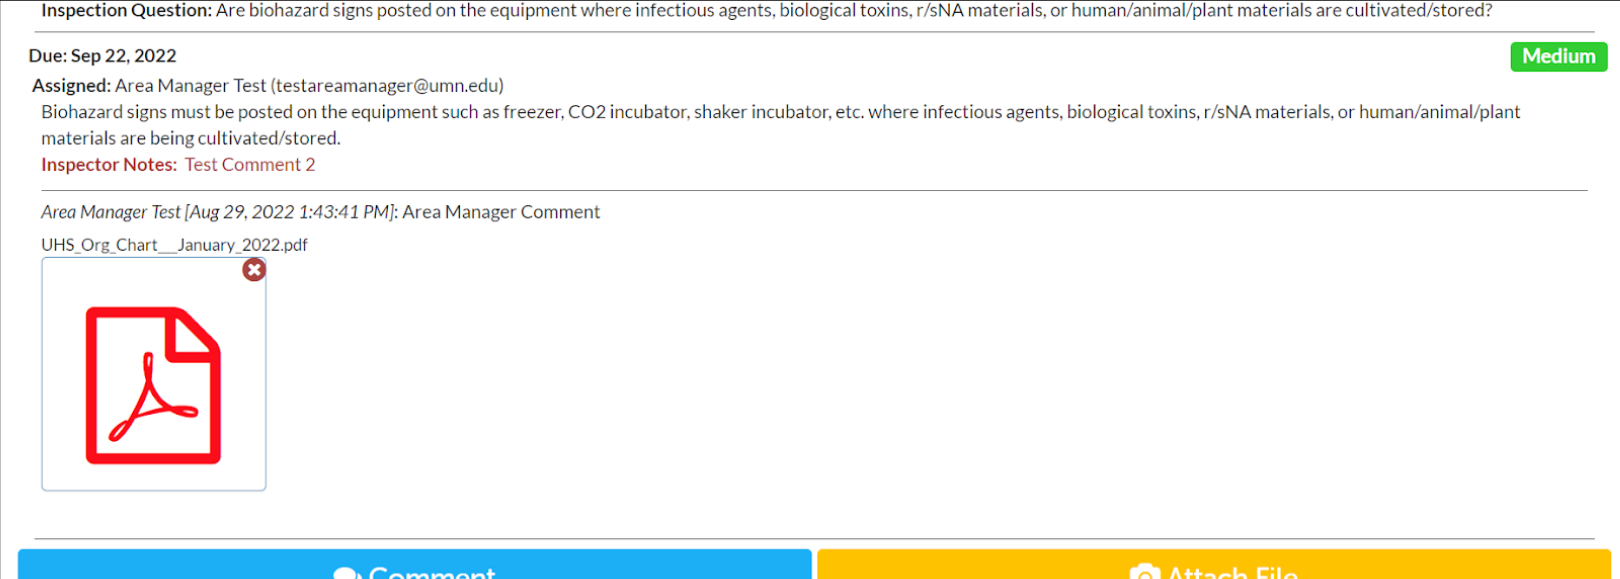
You will now be able to see the file as an attachment under your corrective action.
Reassign a Corrective Action to Another Person
- Click on the “Reassign” button on the “Manage” screen. From here you can see who is currently assigned. Start typing the name or email address of who you would like to reassign the corrective action to in the “Reassign To” field. A list of users will show matching what you have typed. Click on the appropriate user.
- Enter a reason for the reassignment.
- Click on the “Reassign” button.
On the “Manage” screen, you will now see the new Assignment highlighted, showing the change.
Request an Extension for Corrective Action
Request Corrective Action Extension
Click on the “Extend” button on the “Manage” screen. From here you can see the current due date of the corrective action. To request another date, you may enter it into the “Requested Extension Date” field. In addition, please fill out the “Reason for Extension” field. Click “Submit”.
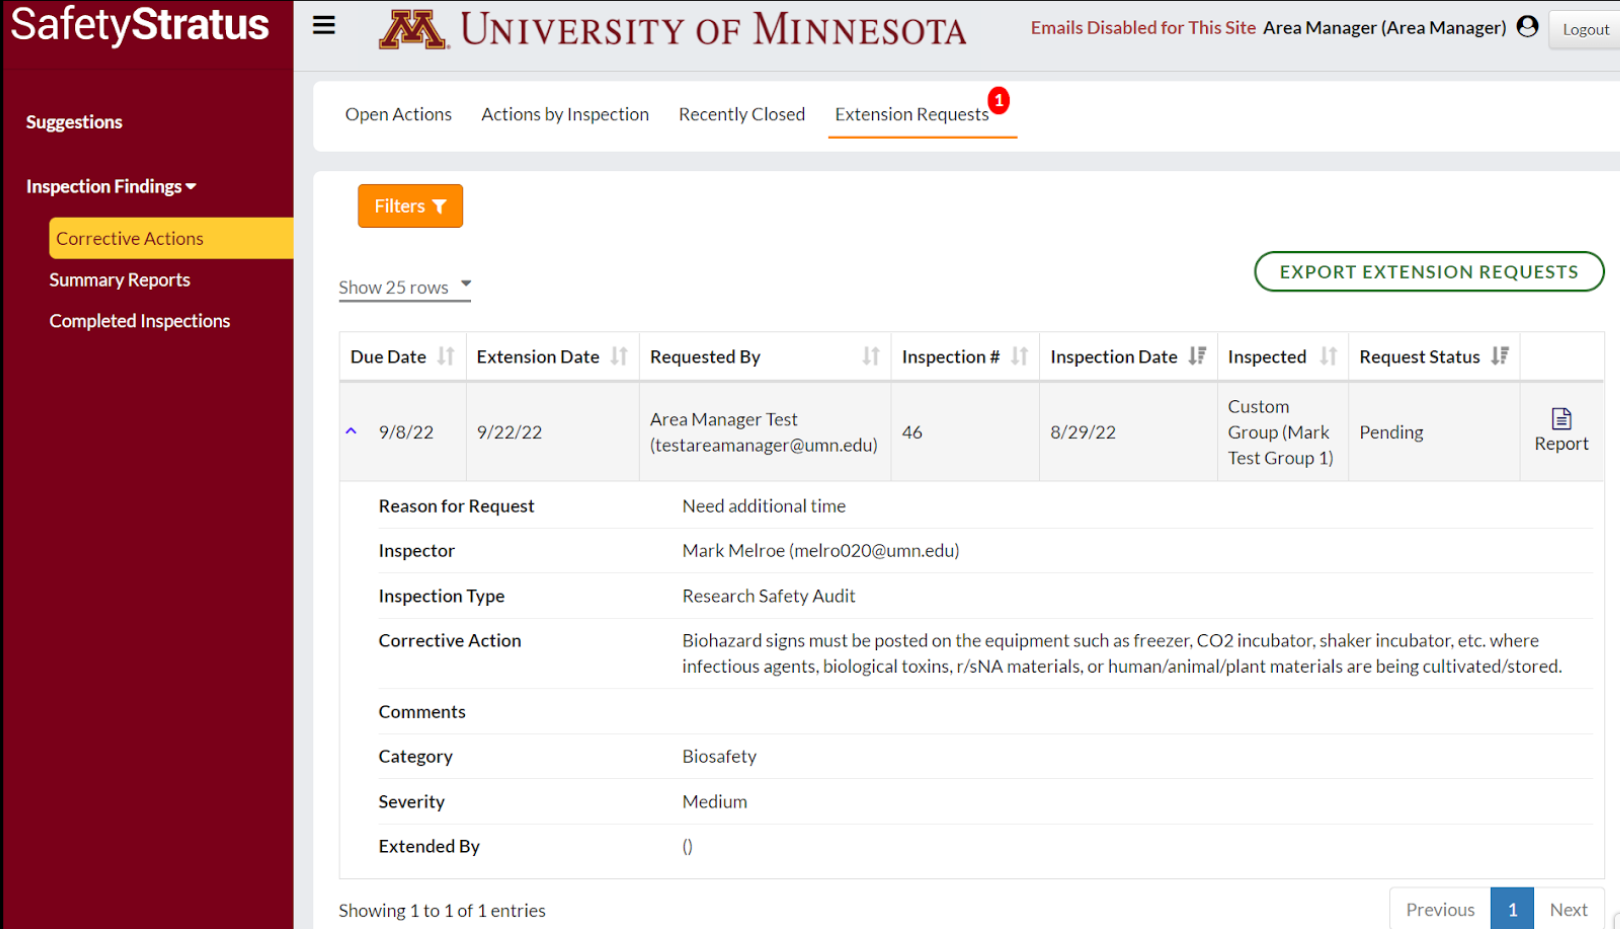
This will send a request to the Inspector. You can see extension requests on the top navigation bar under “Extension Requests”.
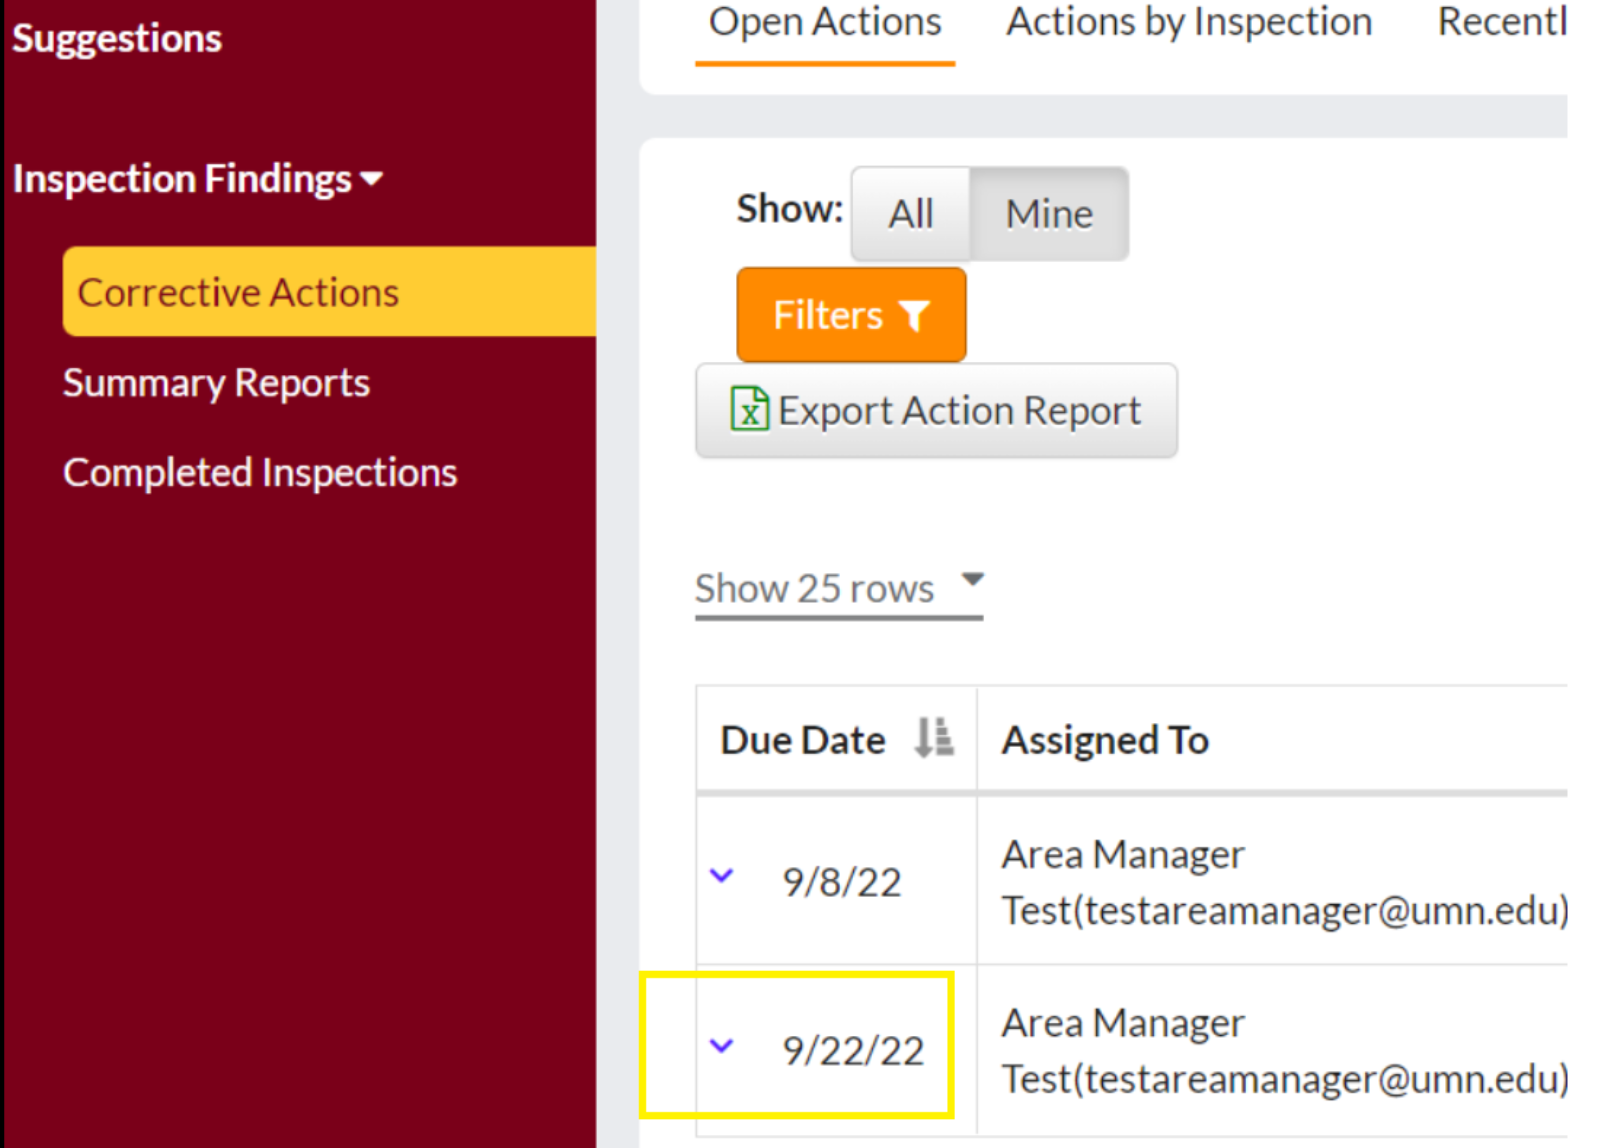
Once the request has been approved, you can see the due date of that corrective action will have changed. You can view this by going to the “Open Actions” in the top navigation bar.


